
SEARCH


For crispy, juicy, Super Bowl-ready buffalo wings, skip the deep-fryer and go for the steamer basket.
Super Bowl Sunday is upon us once again, which means it’s time to contemplate which protein-packed snack you want to nosh on during commercial breaks. For us, nothing satisfies that game-day craving quite like crispy buffalo wings.
We won’t be rolling out the deep fryer for this application, though. Deep-fay frying is the norm for chicken wings because it dehydrates the skin, forming a crust that inhibits further oil absorption, while denaturing the internal proteins. In layman’s terms: It crisps and browns the skin, while keeping the chicken tender and juicy.
The key to deep-fat frying, of course, is temperature control, meaning you have to keep a close eye on your oil through the entire process…not ideal for football-viewing.
Luckily, there is an alternative: the oven.
Typically, the problem with oven-roasted wings is a practical one: Relatively high temperatures are required to produce crisp skin, and that can generate a lot of smoke. The trick is to steam them first to render out a lot of the fat. Then you cool them to tighten the skin before roasting them in the oven.
Yes, there’s a bit of labor involved, and yes, it’s worth it. You can steam your wings in three batches, or you can try out this clever hack…
THE STEEL LOTUS
Rather than steaming in batches, we like to use a three-level collapsible steamer basket called the Steel Lotus. It’s an extremely useful device, but you can’t buy one. Sorry.
You can, however, build one by removing the center posts from three folding steamer baskets and threading them in sequence onto a piece of appropriate-diameter threaded rod from the hardware store. A nut placed above and below each steamer will keep them in place.
Here’s how we do it:
Hardware
3 steamer baskets
1 (1-inch) washer
1 (10- to 12-inch, 5/16-diameter) stainless steel threaded rod
8 (5/16-inch) stainless steel nuts
pliers
Procedure
Remove the handle from each steamer basket by holding the nut under the steamer with pliers and unscrewing the stem. Screw one nut onto the end of the rod. Twist on one steamer basket, followed by another nut to keep it in place.
Repeat for the other two baskets, spacing them each about 3 inches apart. Use the remaining nuts to attach the washer to the top of the rod.
Wash before using.
Like any good multitasker, it can be used for way more than just delectable wings. Still not convinced? Here are a few tasty applications this versatile tool will help with:
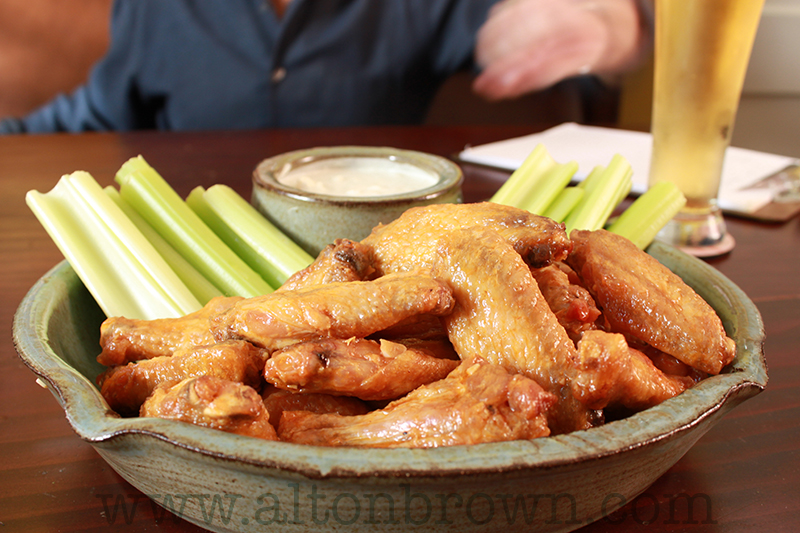
Buffalo Wings
The secret to crisp, juicy, oven-baked buffalo wings is a quick steam, a hot roast, and a toss in a homemade buffalo sauce.
Chili-Glazed Wings
Crispy, no-fry chicken wings coated in a sweet and spicy glaze made with Thai chili and — yup — Dr. Pepper.
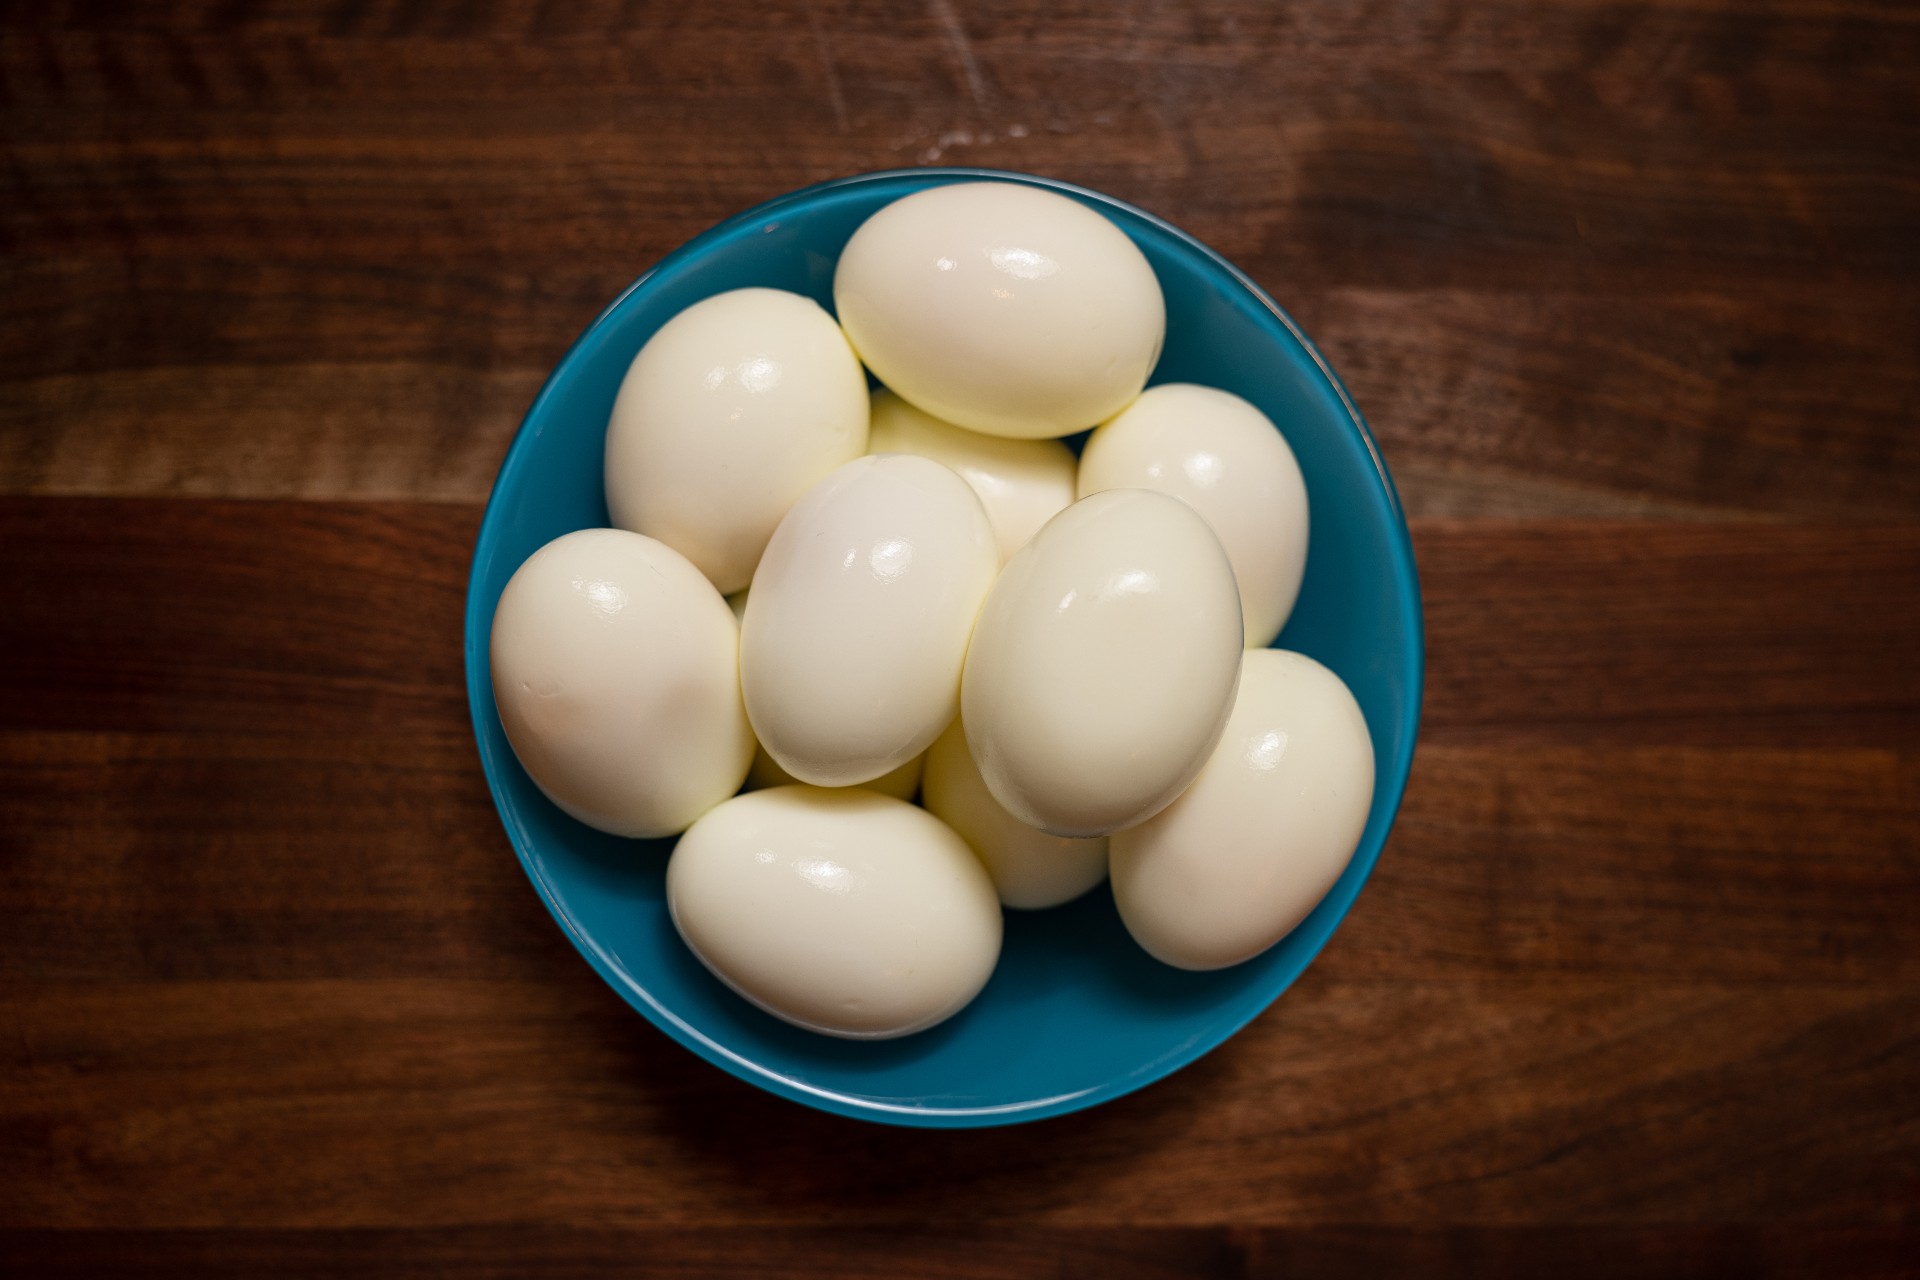
Hard Not-Boiled Eggs
Ensure perfectly cooked, deviled egg-ready yolks every time by steaming rather than boiling.
Sweet Potato Waffles
Turn breakfast into dessert with these sweet, golden waffles, best served with vanilla ice cream and a drizzle of maple syrup.

Sign Up for the Newsletter


