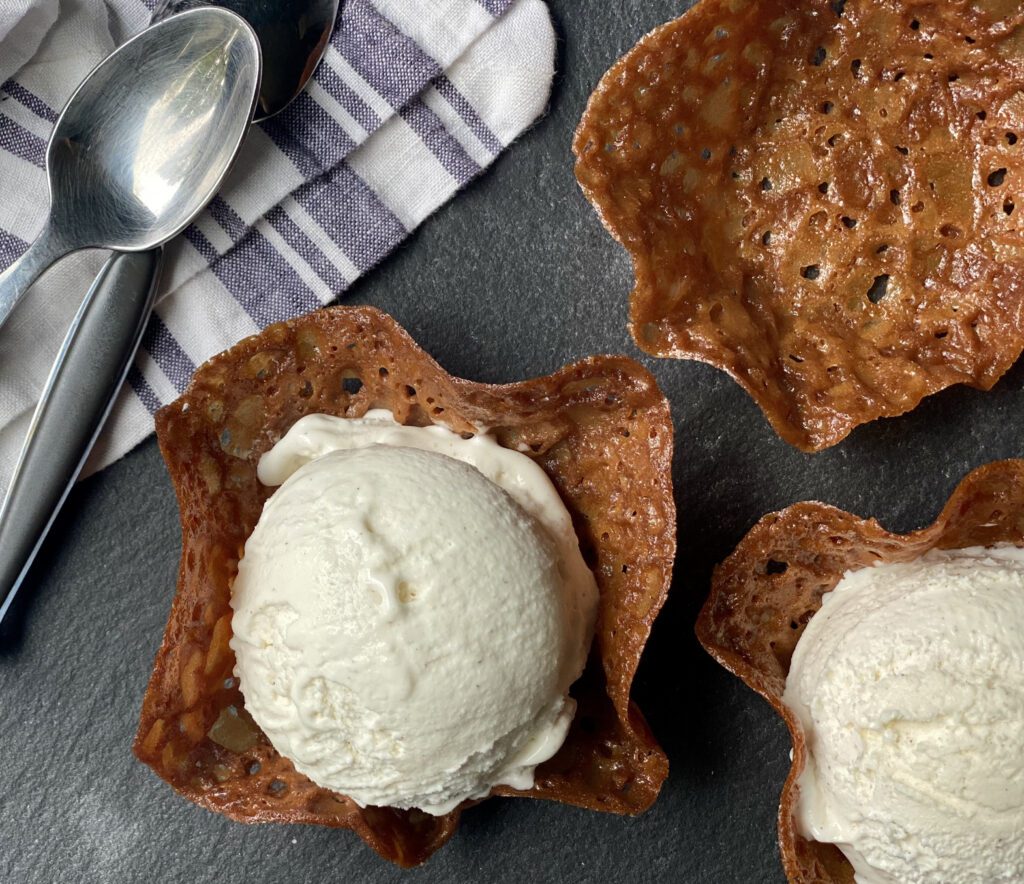
Toffee Lace Cups- RELOADED
ACTIVE TIME: 15 minutes
TOTAL TIME: 2 hours 15 minutes
Yield: 24 cups
Photo by Lynne Calamia
Read More
Read Less
Software
- 1 cup all-purpose flour
- 8 tablespoons unsalted butter, cut into 8 pats
- 2/3 cup light brown sugar
- 1/2 cup dark corn syrup
- 1/4 teaspoon kosher salt
- 2 teaspoons freshly squeezed lemon juice
Specialized Hardware
ACTIVE TIME: 15 minutes
TOTAL TIME: 2 hours 15 minutes
Yield: 24 cups
Procedure
- Sift the flour through a mesh strainer or sifter onto a paper plate and have standing by cooktop.
- Combine the butter, brown sugar, corn syrup, salt, and lemon juice in a 4-quart saucepan over medium-high heat. Bring to a boil, stirring often with a spoon (metal or wood, see note below), or a silicone spatula. Once boiling, stir constantly for 1 minute, then move the pot to a trivet or cooling rack. Fold the paper plate into a loose taco shape and slowly sprinkle the flour into the candy mixture a little at a time, stirring in each addition. When the flour is incorporated, transfer the batter to a large glass mixing bowl, and cool to room temperature for one hour.
- When the hour is up, the batter should temp between 85 F to 100 F. At this point the batter may be used or covered with plastic wrap and refrigerated for later use. (If refrigerated, remove plastic wrap and microwave in 30-second increments at Hi-power, until batter reaches a scoopable texture.)
- When ready to bake, heat oven to 350 F and place a rack in the middle position. Have 4 ramekins turned upside down standing near the oven. Line a half sheet pan with parchment paper and scoop the batter with a tablespoon or #50 disher. Place no more than 4 scoops, 6-8 inches apart.
- Bake for 10-12 minutes until candy is lacy and deep golden brown. Remove from the oven and cool for about 30 seconds (to prevent tearing). Slide the spatula under each disk and transfer to the inverted ramekins, allowing them to drape over the sides to form inverted cups.
- When the candy cups set (about a minute), transfer them to a cooling rack and continue the process with the remaining batter. If at any point the batter becomes too stiff to scoop, microwave in 30-second increments until pliable.
- Serve the cups with the filling of your choice from ice cream to sorbet, mascarpone to tuna salad...okay, maybe not tuna salad. Store unused cups wrapped with paper towels inside a resealable plastic container. If you have any food-grade desiccant packs, toss one in as moisture can quickly turn them into a gooey mess.
Note: Old school candy makers often swear that hot candy mixtures must be stirred with a wooden spoon to prevent crystallization. When dealing with pure melted sugar, I agree because metal is a good conductor and can pull enough heat out of the candy for crystals to form in the areas of lower temperature. However, this mixture contains corn syrup which introduces different saccharides to the party thus blocking crystal formation. That said, if you have a wooden spoon that you really like, knock yourself out.

Sign Up for the Newsletter