
SEARCH


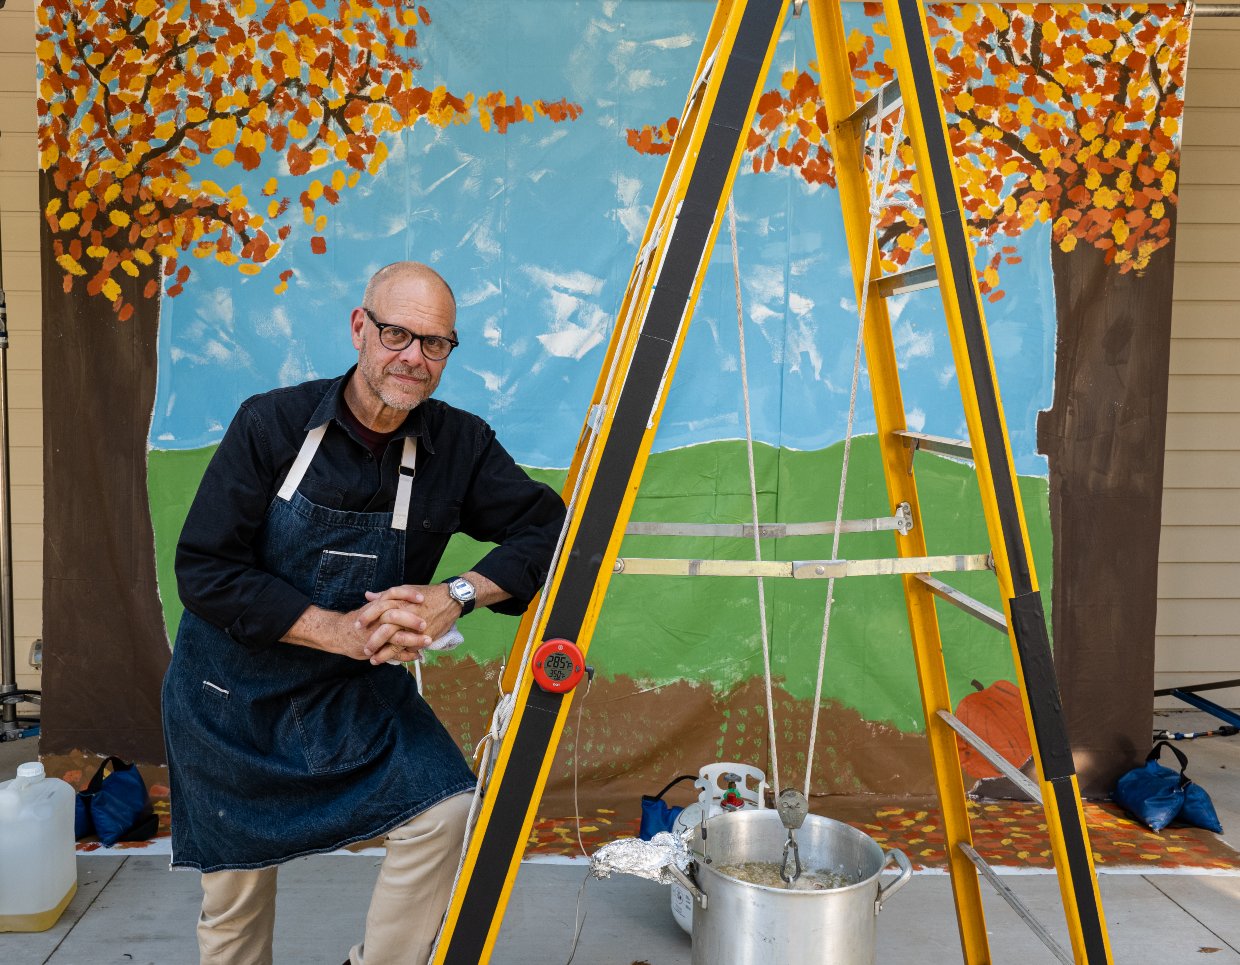
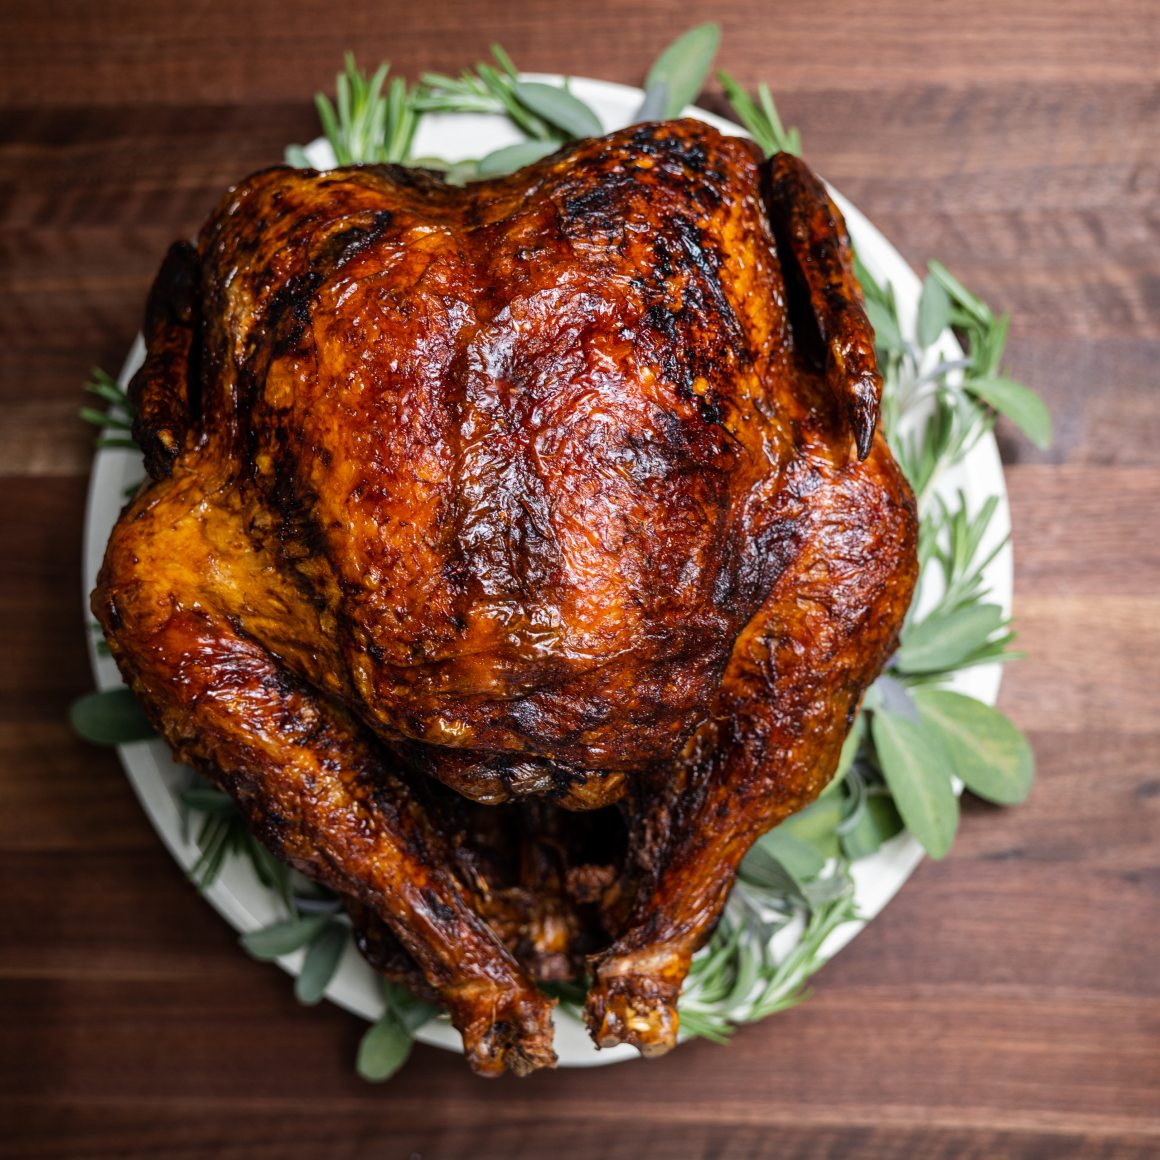
If you’ve never fried a Thanksgiving turkey, make this the year. It’s delicious and done in an hour (unless you’re cooking Turkzilla). Just make sure you assemble and use my handy and safe turkey derrick!
A few notes on safety:
Large-vessel frying is serious business. It matters a lot where you stage this operation — be sure you are at least 10 feet (yes, feet) away from any structure like your house, garden shed, wooden fence, deck, carport or garage.
Also essential: A level surface. Do not try this on a wooden deck, or a paved or concrete driveway — these will show oil splatters, plus, kids like to play in these spaces, and you don’t want anyone near your base of operations. A patch of grass or dirt that is level and free of toys and other obstacles is ideal.
Keep everyone at a safe distance, at least 10 feet away from your base of operations. This is no place for kids or any holiday drinking. Until your bird is done and delivered to the table, no alcohol allowed. Period.
Your base of operations should include a chair (because you are not going to leave this site until your turkey is done and the fire is out), a table containing your heat-resistant gloves, a timer, a stick-type lighter, a meat thermometer, a beverage (remember, nonalcoholic), and your trusty fire extinguisher.
WARNING: Failure to follow these instructions could result in fire or explosion, which could cause property damage, personal injury, or death — not to mention ruin a perfectly good turkey.
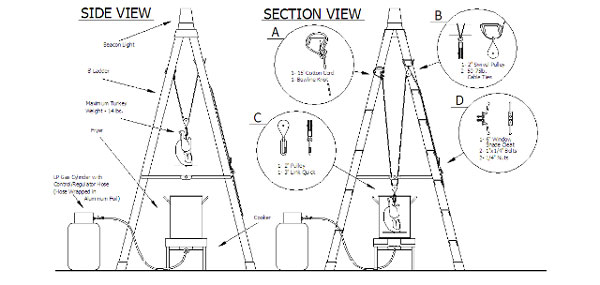
ALTON BROWN’S TURKEY DERRICK
HARDWARE
1 (8-foot) fiberglass ladder
15 feet of heavy-duty cotton sash cord (not synthetic rope; it can’t take the heat)
2 (2-inch) pulleys, one with swivel top
1 (3-inch) quick link or carabiner
2 (75-pound-test) plastic cable ties
1 (6-inch) window shade cleat
2 (1/4-by-1-inch) bolts
2 (1/4-inch) nuts
1 sturdy, high-quality outdoor propane gas burner unit with accessories; burner base should be stable, four-legged, and welded, not bolted; double rings of gas jets; and an air-flow adjuster
1 heavy-duty outdoor cooker pot with lifter-spindle insert; 30-to 34-quart capacity, 15 inches or taller
1 thermometer with clip attachment to measure oil temperature
1 instant-read meat thermometer
1 timer
1 fire extinguisher
1 tank of propane fuel filled to shoulder
4 feet of fuel line
1 (3-foot) piece of aluminum foil
1 heavy wooden coat hanger
1 spinning emergency beacon, D-battery version, for top of ladder, optional, but recommended
 CONSTRUCTION

1. Thoroughly read — and then reread — the instructions that came with your burner unit. Assemble the burner unit as instructed in the manual.
2. Referencing figure 1, inset D: Bolt cleat to right side of ladder with the 2 bolts and nuts; tighten securely.
3. Referencing figure 1, inset A: Tie one end of the sash cord to the top rung of the left side of the ladder with a bowline knot — it’s a very important knot to know; it cannot come untied.
4. Referencing figure 1, inset B: Secure a pulley to the top rung of the right side of ladder with 2 cable ties.
5. Referencing figure 1, inset C: Thread sash cord through pulley 1 and then pulley 2 (inset B); feed out enough cord to allow pulley 1 to rest in the beneath the ladder, about 4 feet off the ground; secure cord to cleat (inset D), wrapping in a figure-eight fashion several times and tying off so it cannot slip.
6. Referencing figure 1, inset C: Attach the quick link or carabiner to pulley 1.
7. Wrap the gas supply line with aluminum foil to protect it in case of any overflow.
8. Place burner unit under pulley 1, centered beneath the ladder. Place the propane tank on the ground as far from the burner unit as possible.


Sign Up for the Newsletter


